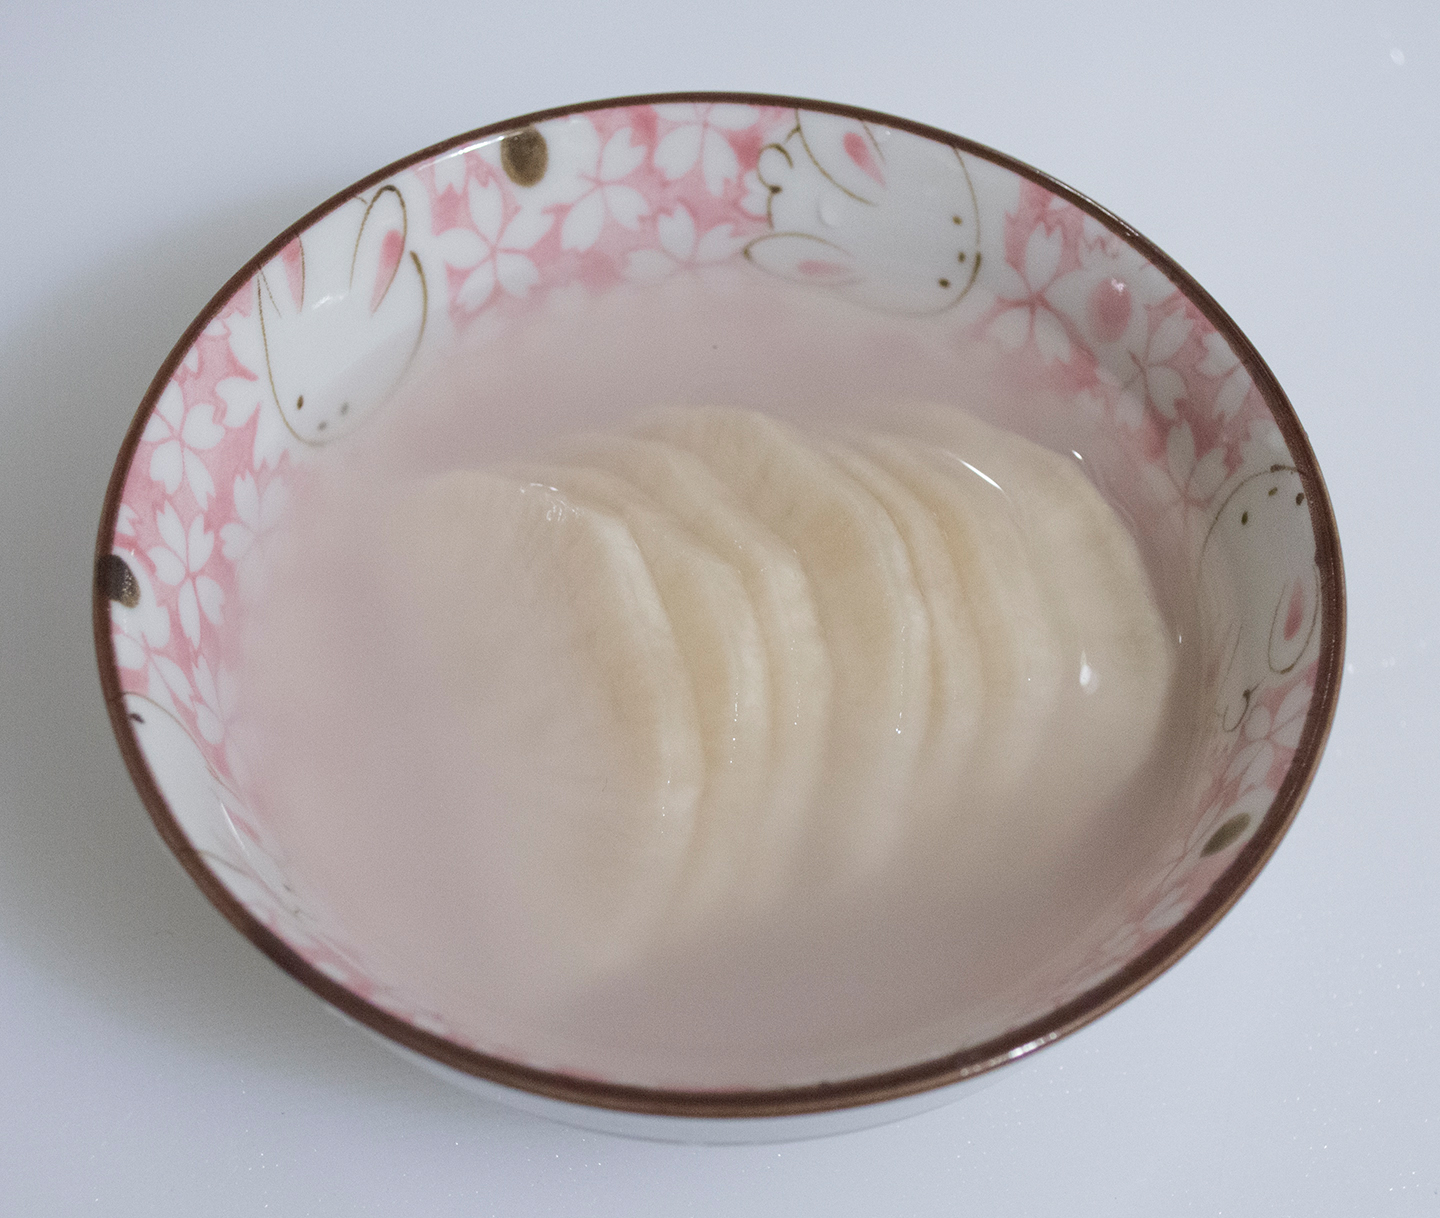
Originally consumed during the Winter, Dongchimi literally means *winter kimchi* (동 – dong – winter; 치미 – chimi – old word for kimchi). Root vegetables were harvested late, pickled in a jar, and consumed during the cold months, when finding and growing leafy greens were much harder. Nowadays, we eat it all through the year; many people enjoy eating this in the Summer for its crunchy texture and cooling nature.
I’ve been working on this dongchimi recipe for months now, trying to get it just right. It’s been a bit difficult, in that I usually make this radish kimchi by eye, like my mom and my grandma. You’ll also notice that the contents of the water kimchi are not necessarily fixed amounts; the radish, water, and salt are what’s most important, while the aromatics are more secondary and can change according to your preferences. It *is* still essential to have some garlic, ginger, scallions, heat from the chili, and some sweetness from the pear. Those items are what give the liquid its refreshing and slightly bubbly feel.
Recipe for Dongchimi (동치미) - Joseon Radish Kimchi
- About 2 Liters (About 2 Quarts)
- Preparation:
- Waiting:
Ingredients
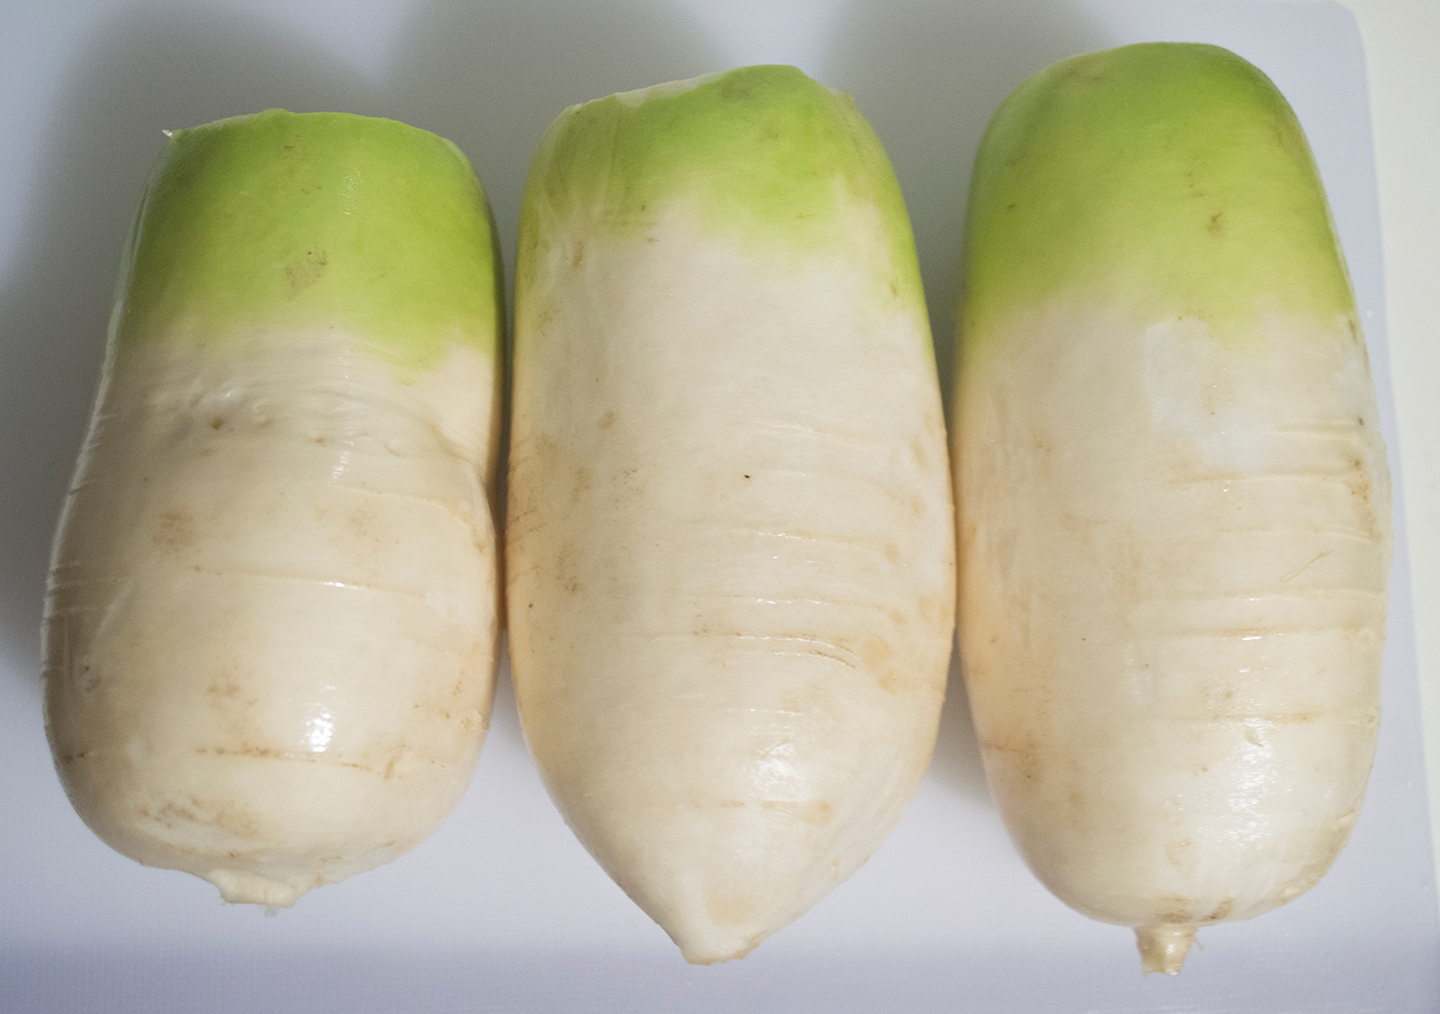
- 3 Joseon Radishes (roughly 6 inches in length and 3 inches in diameter)
- 90g (5T) Kosher Salt
- 5 small Scallions
- 5 Garlic Cloves
- 12g (2T) Ginger
- 1 Red Chili
- 1 Green Chili or small Jalapeño
- 1-1½ liters (about 1-1½ quarts) of Water
- ½ Asian Pear
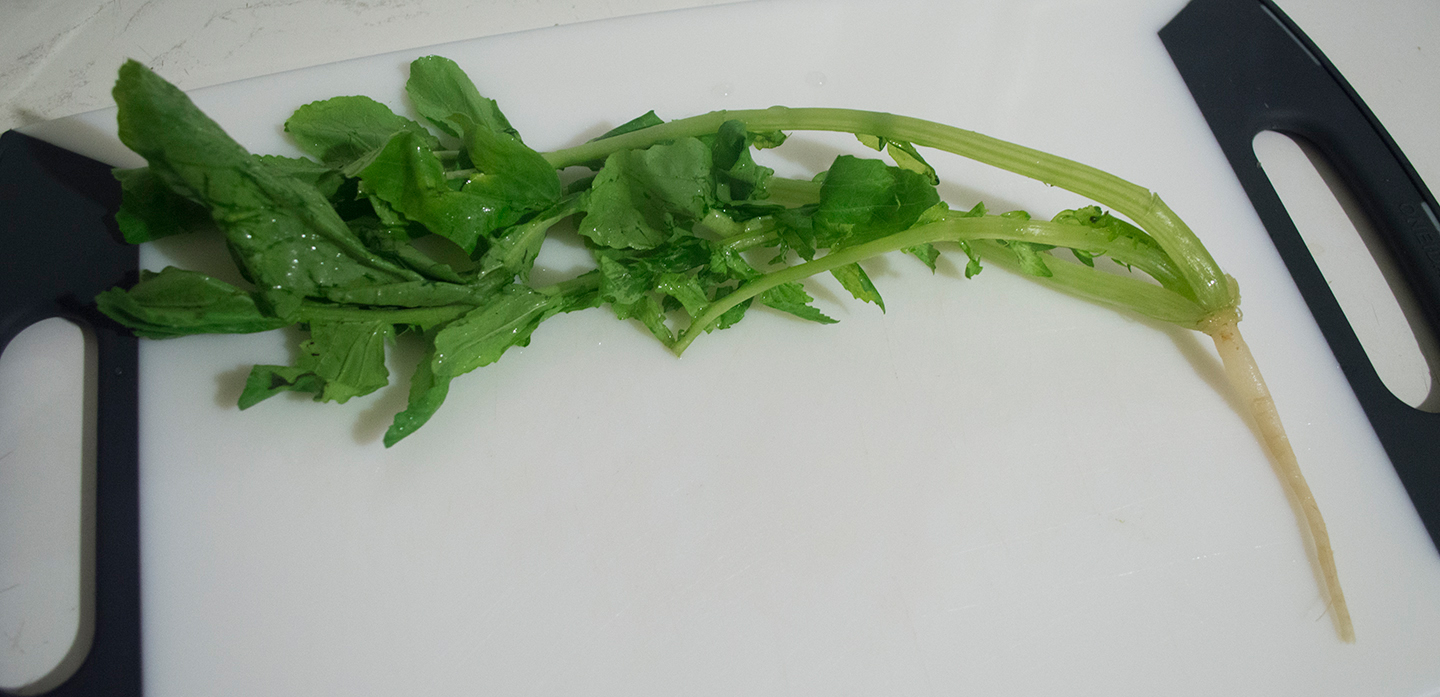
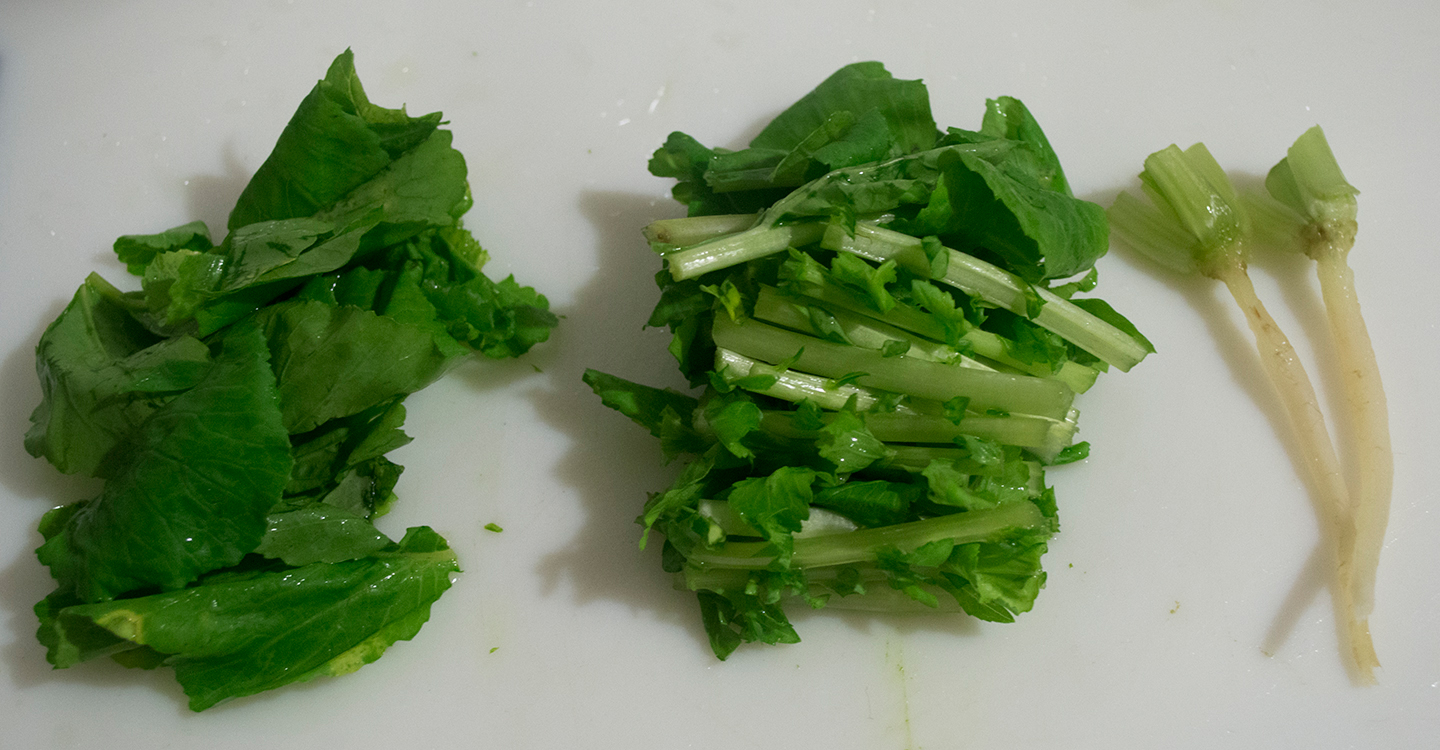
- 2-3 Radish Shoots, optional
Procedure
- Clean off the tops of each radish, and cut away any brown spots. With your knife, lightly scrape the exterior to get rid of any roughage, like the roots and some of the thicker green skin.
- Wash the radishes and roll each radish, generously, in some kosher salt. Store them in a large container overnight. Keep the remaining salt for later use.
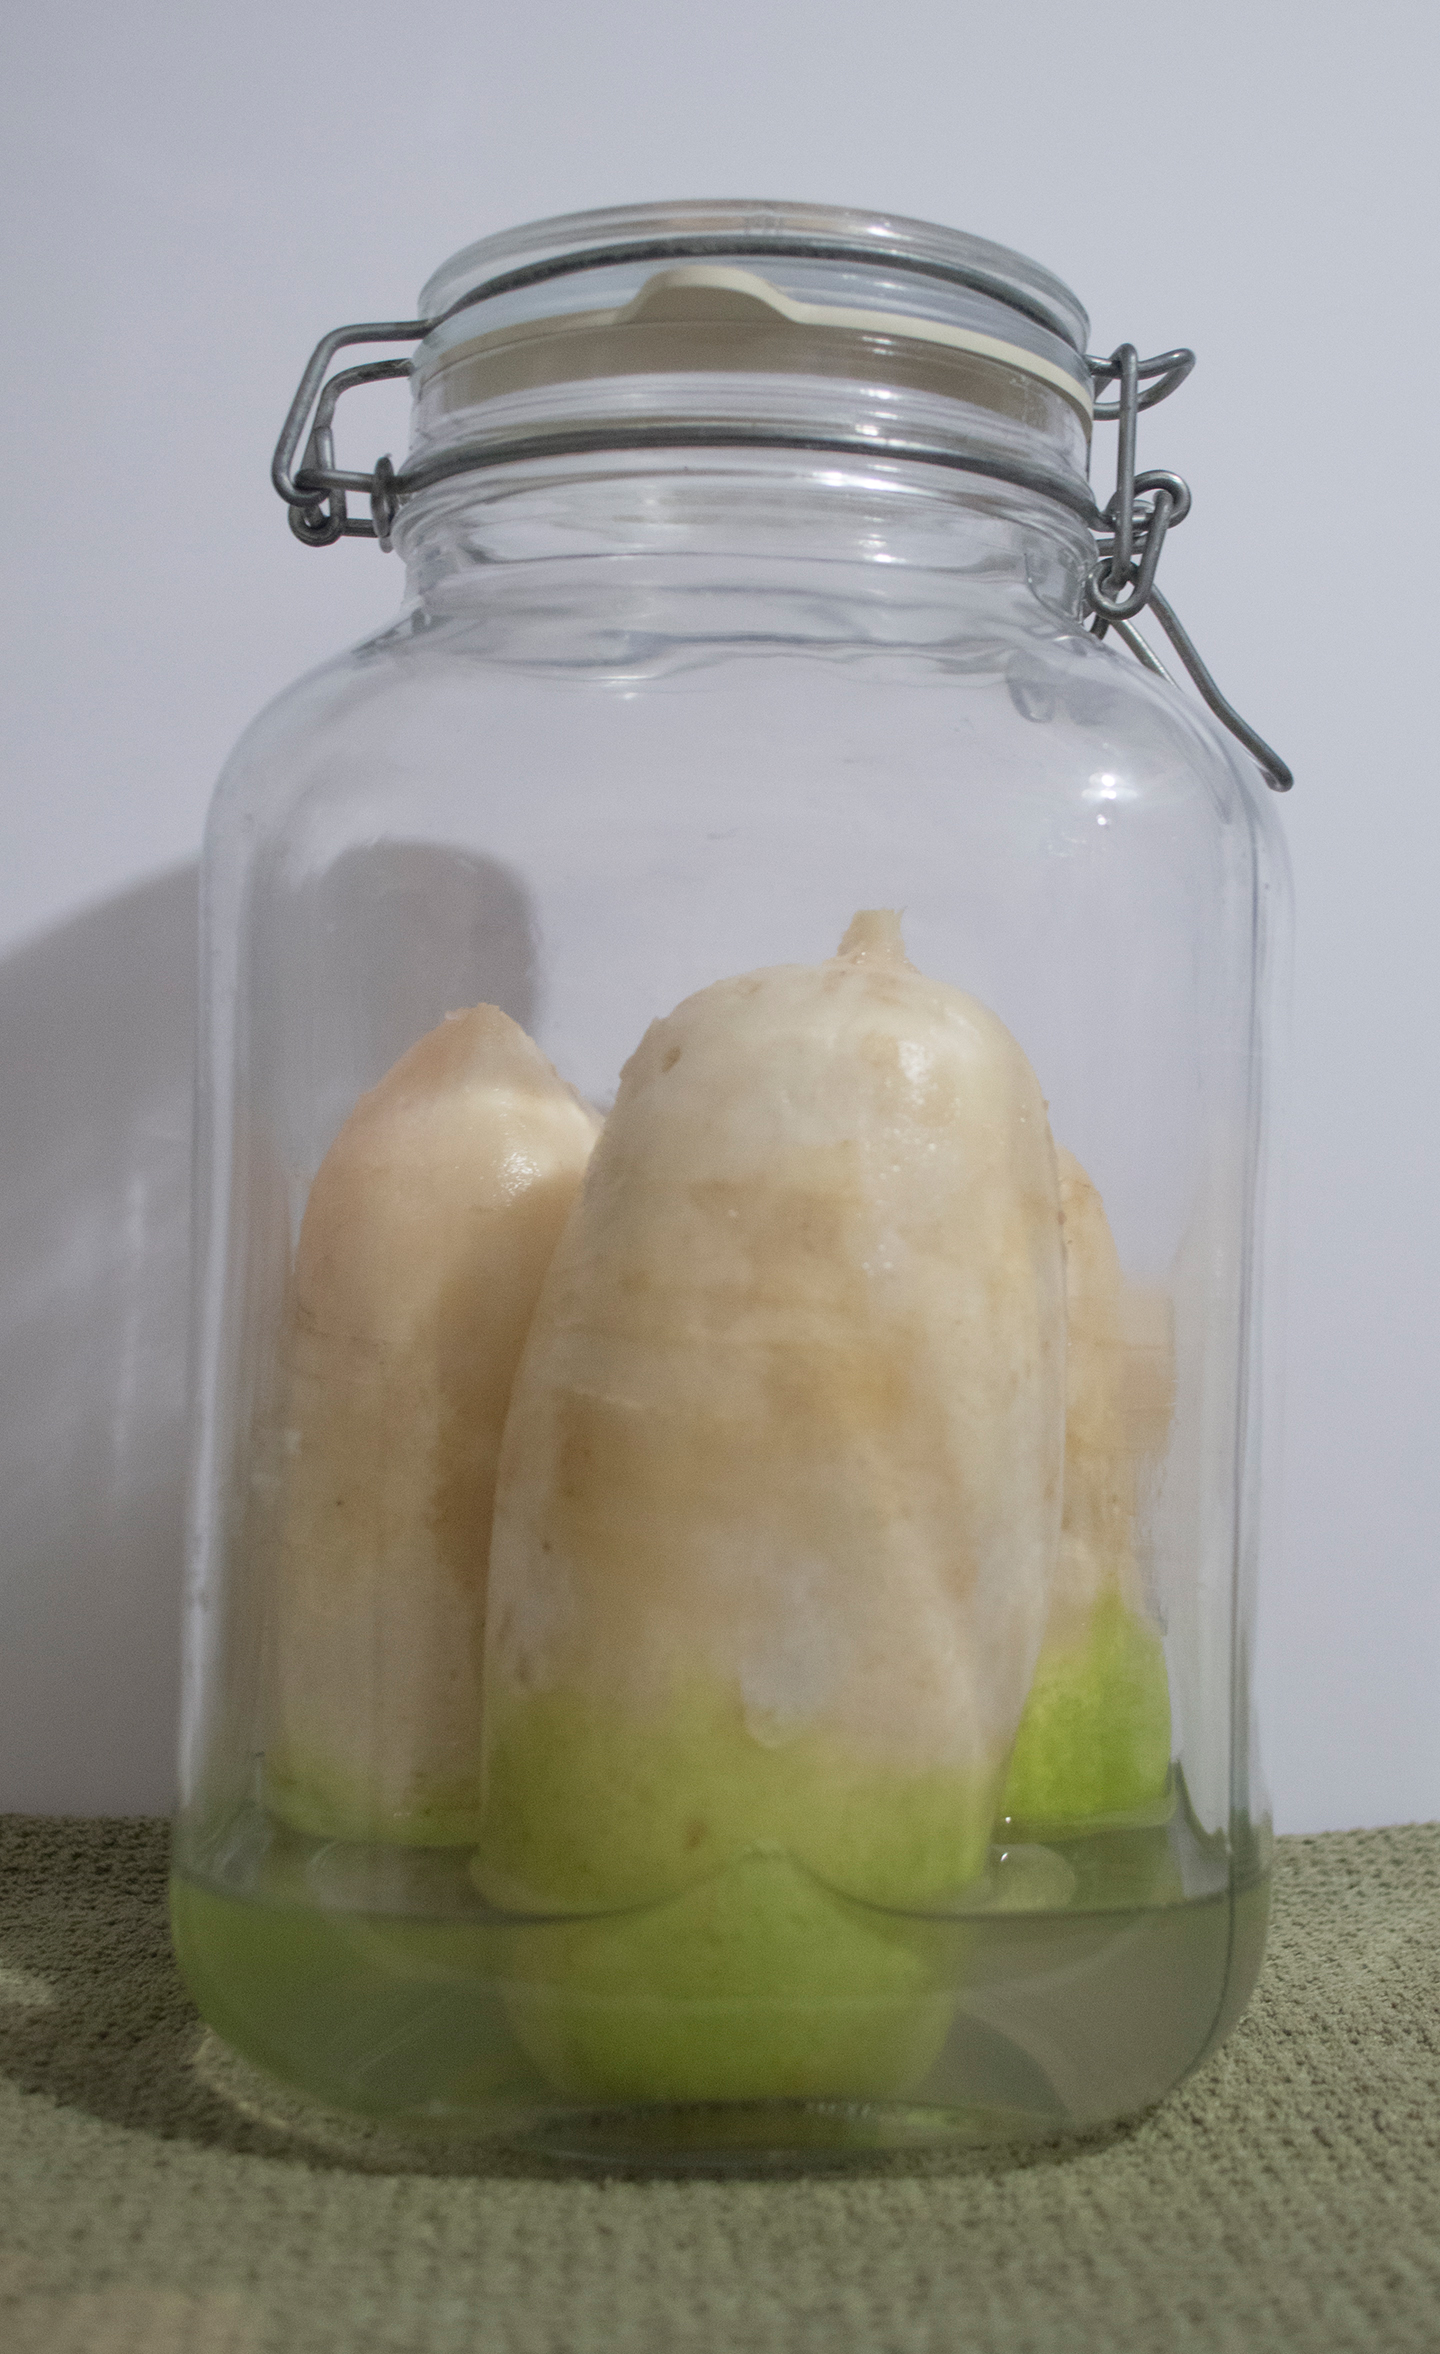
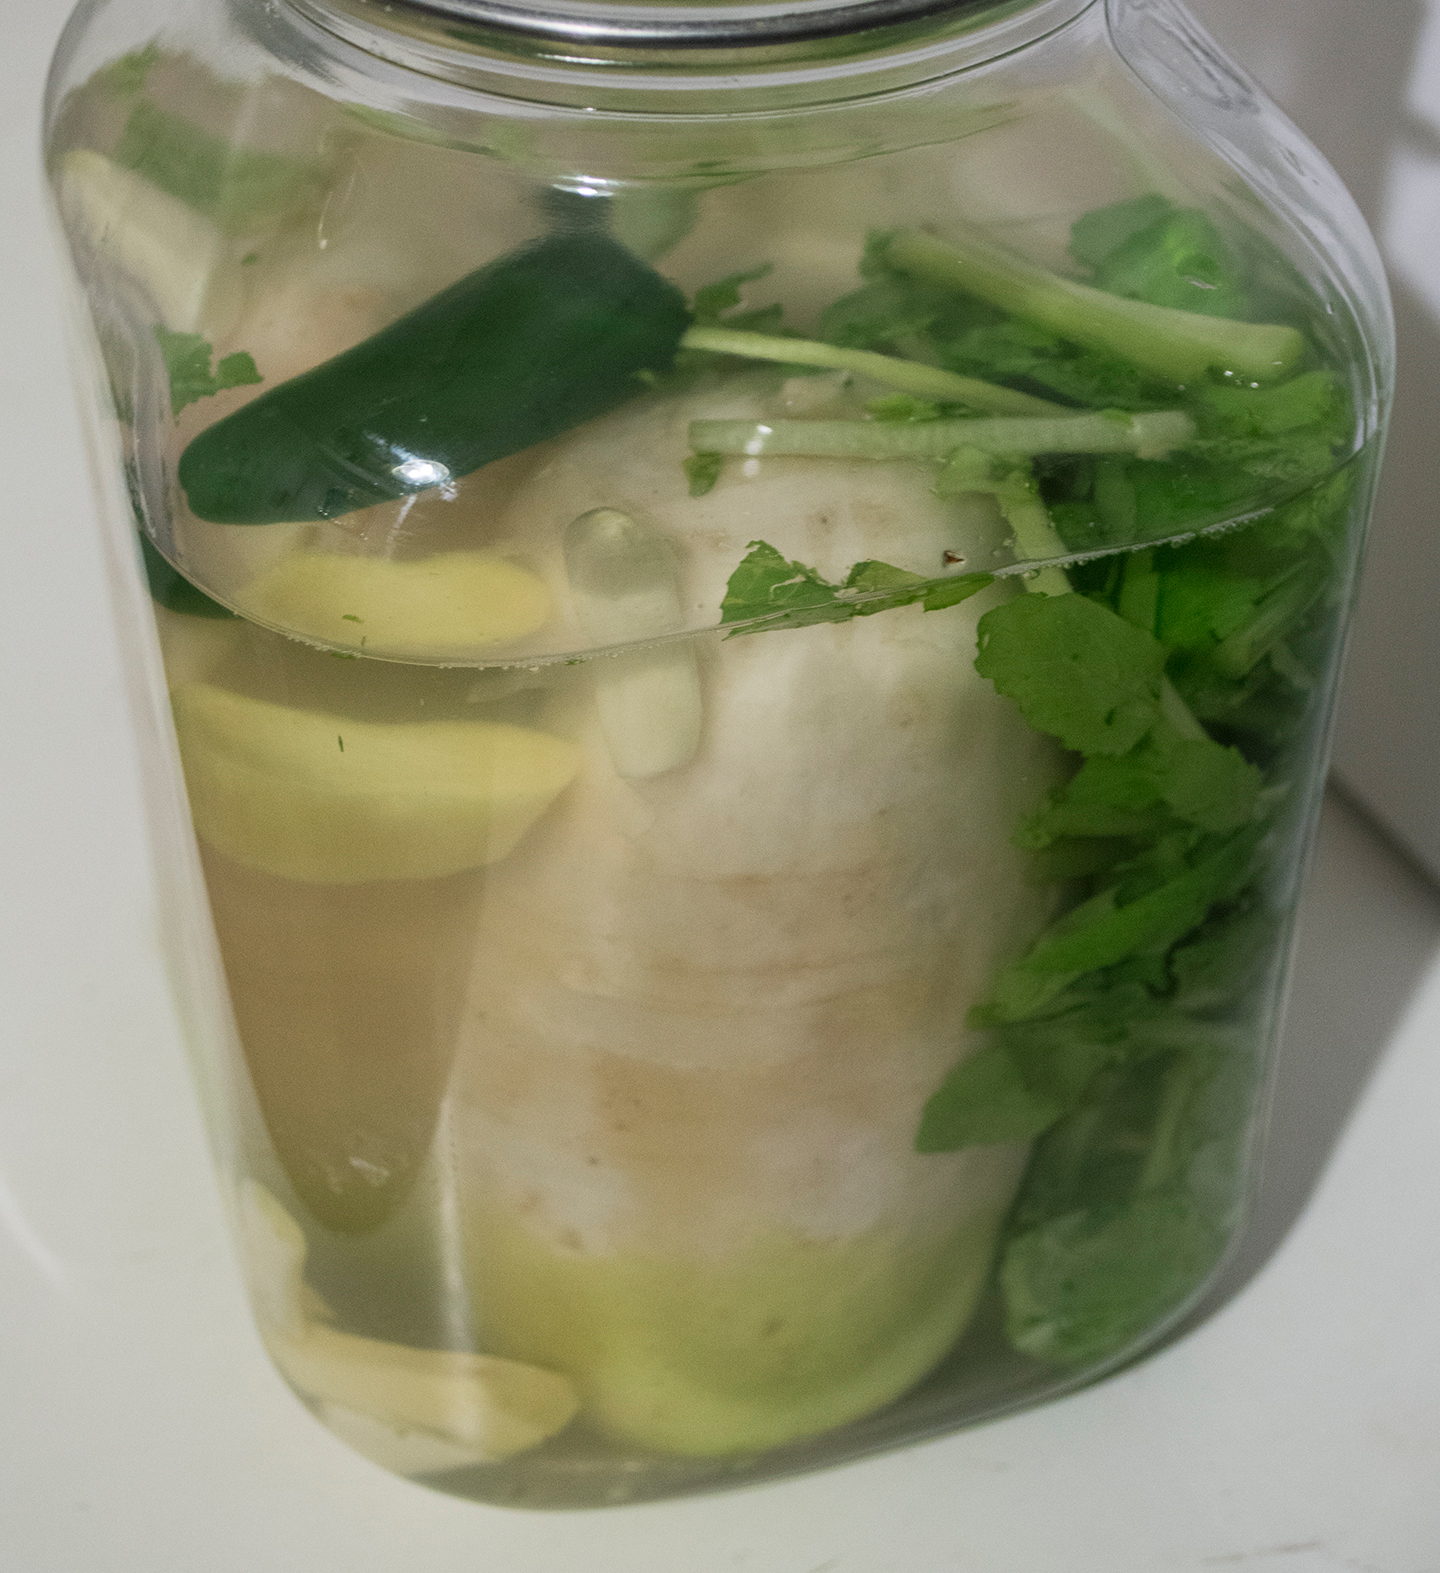
- The next day: wash and remove the roots of the scallions; cut the garlic cloves in half; the ginger into coins; and make holes in the chilies with a skewer. Add all of these ingredients into the container. Pour water into the container until the contents are completely covered, about 1-1½ quarts.
- Take a tasting spoon and taste-test the salinity of the liquid. Add the remaining salt as necessary. Set aside on the counter where it can’t be bothered, and away from direct heat. After 2 days, peel and add the Asian pear and radish shoots, and refrigerate.
- After about 3 days in the refrigerator, check the radish and see if it tastes briny, or if it still has its heat. If the radish is still tasting raw, keep for another few days in the fridge.
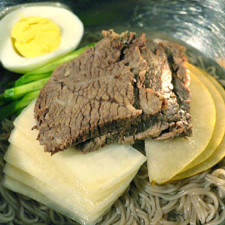
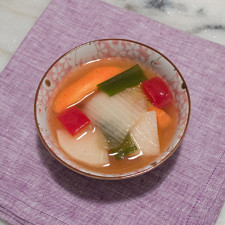
- Once the radish has lost its spicy notes, and the liquid begins to taste sweet, salty, and a bit tangy, it’s ready to slice up and serve as a side dish, or be made into a variety of one-bowl meals, like naengmyeon.
*Bunny Wisdom*
- Joseon radishes (Korean radishes) are more squat, round, and have denser flesh than their sister varieties. They also have their signature shade of green coloring extending halfway down the root. I choose to use this variety for pickling because it has a dense structure; the long variety doesn’t seem to hold up as well through the pickling.
- Remove the green shoots (if there are any) off the tops of the radishes.
- Slice the radishes in half, lengthwise, if they don’t fit into the container well. Remember that by doing so, your fermentation process will be quicker, and the dongchimi will be ready to eat earlier than indicated above.
- The amount of salt varies depending on the size of the radish; I ended up using almost all of the 5T of salt in this whole recipe.
- I poke a few holes along the sides of the chili to allow the brine to freely flow into the pepper. If the pepper is too large, you can slice it in half and remove the seeds before adding it to the radish kimchi.
- The amount of water varies depending on the size of your container, and how much displacement there is from the radishes. You will also notice that the radishes have created their own liquid overnight. Don’t pour out the liquid, but add to it.
- Much like making pickle brine, you really want a salty liquid to start; otherwise, you will get a squishy radish after a week.
- I add the Asian pear (also often called Korean pear or apple pear)–peeled and cored–after 2 days; it can get squishy rather quickly. I remove the pear after it turns brown, and its sweetness has been drawn out into the kimchi liquid.
- You can lightly toss the radish shoots in salt, let it sit for 30 minutes, and then add them to the container. This step isn’t really necessary if the current liquid is very briny.
- I periodically check the dongchimi about once a day during its curing stage. I let out some gas (fermentation bubbles), flip the contents around (with a clean and dry spoon), and make sure the liquid line is above the ingredients. I find that the dongchimi is ready to eat earlier in the warmer months, and later in the cooler months. It just depends on the ambient temperature of the room it is sitting in, and how cold your refrigeration is.
- Take the greens and shoots out to eat if the radish isn’t quite ready. It’s equally delicious!
- The liquid is slightly milky in color, and has an effervescent mouthfeel when it’s ready to eat.
- I’ve kept my radish kimchi successfully in the fridge for a month. Leaving the radish whole helps in keeping the radish longer.


No thoughts on "Dongchimi (동치미) – Joseon Radish Kimchi Recipe."